Manage users to Label Studio Enterprise
Manage access to projects, organizations, and workspaces in Label Studio Enterprise to restrict who can view data, annotations, and predictions in your data labeling projects.
Role-based access control, organizations, and workspaces are available only in Label Studio Enterprise Edition. For information about users in the open source Label Studio Community Edition, see Set up user accounts for Label Studio.
Signup
There are two ways how users can be registered:
Without an invite link, in this case a new organization will be created and the new user will be the owner of this organization.
- use
app.heartex.com/user/trialfor cloud - use
/user/signupfor on-premise deployments
- use
With an invite link, the newly created user will be added to the existing organization associated with this invite link.
Roles in Label Studio Enterprise
There are five roles available in Label Studio Enterprise Edition. Organization members have different levels of access to projects and workspaces. Every member can label tasks.
Table 1: Roles in Label Studio Enterprise
| Role | Description |
|---|---|
| Owner | Not an assignable role. Manages Label Studio. Can create and modify workspaces, create and modify projects, and view activity log. |
| Administrator | Has full access to all workspaces and projects. Can modify workspaces, view activity logs, and approve invitations. Can’t see the workspace owner’s account page. |
| Manager | After being assigned to a workspace by an Owner or Administrator, has full administrative access in the assigned workspaces. Can view any project and has full access to their own projects. |
| Reviewer | Reviews annotated tasks. Can view projects with tasks assigned to them. Can review and update task annotations. |
| Annotator | Labels tasks. Can view projects with tasks assigned to them and label tasks in those projects. |
Roles and workspaces
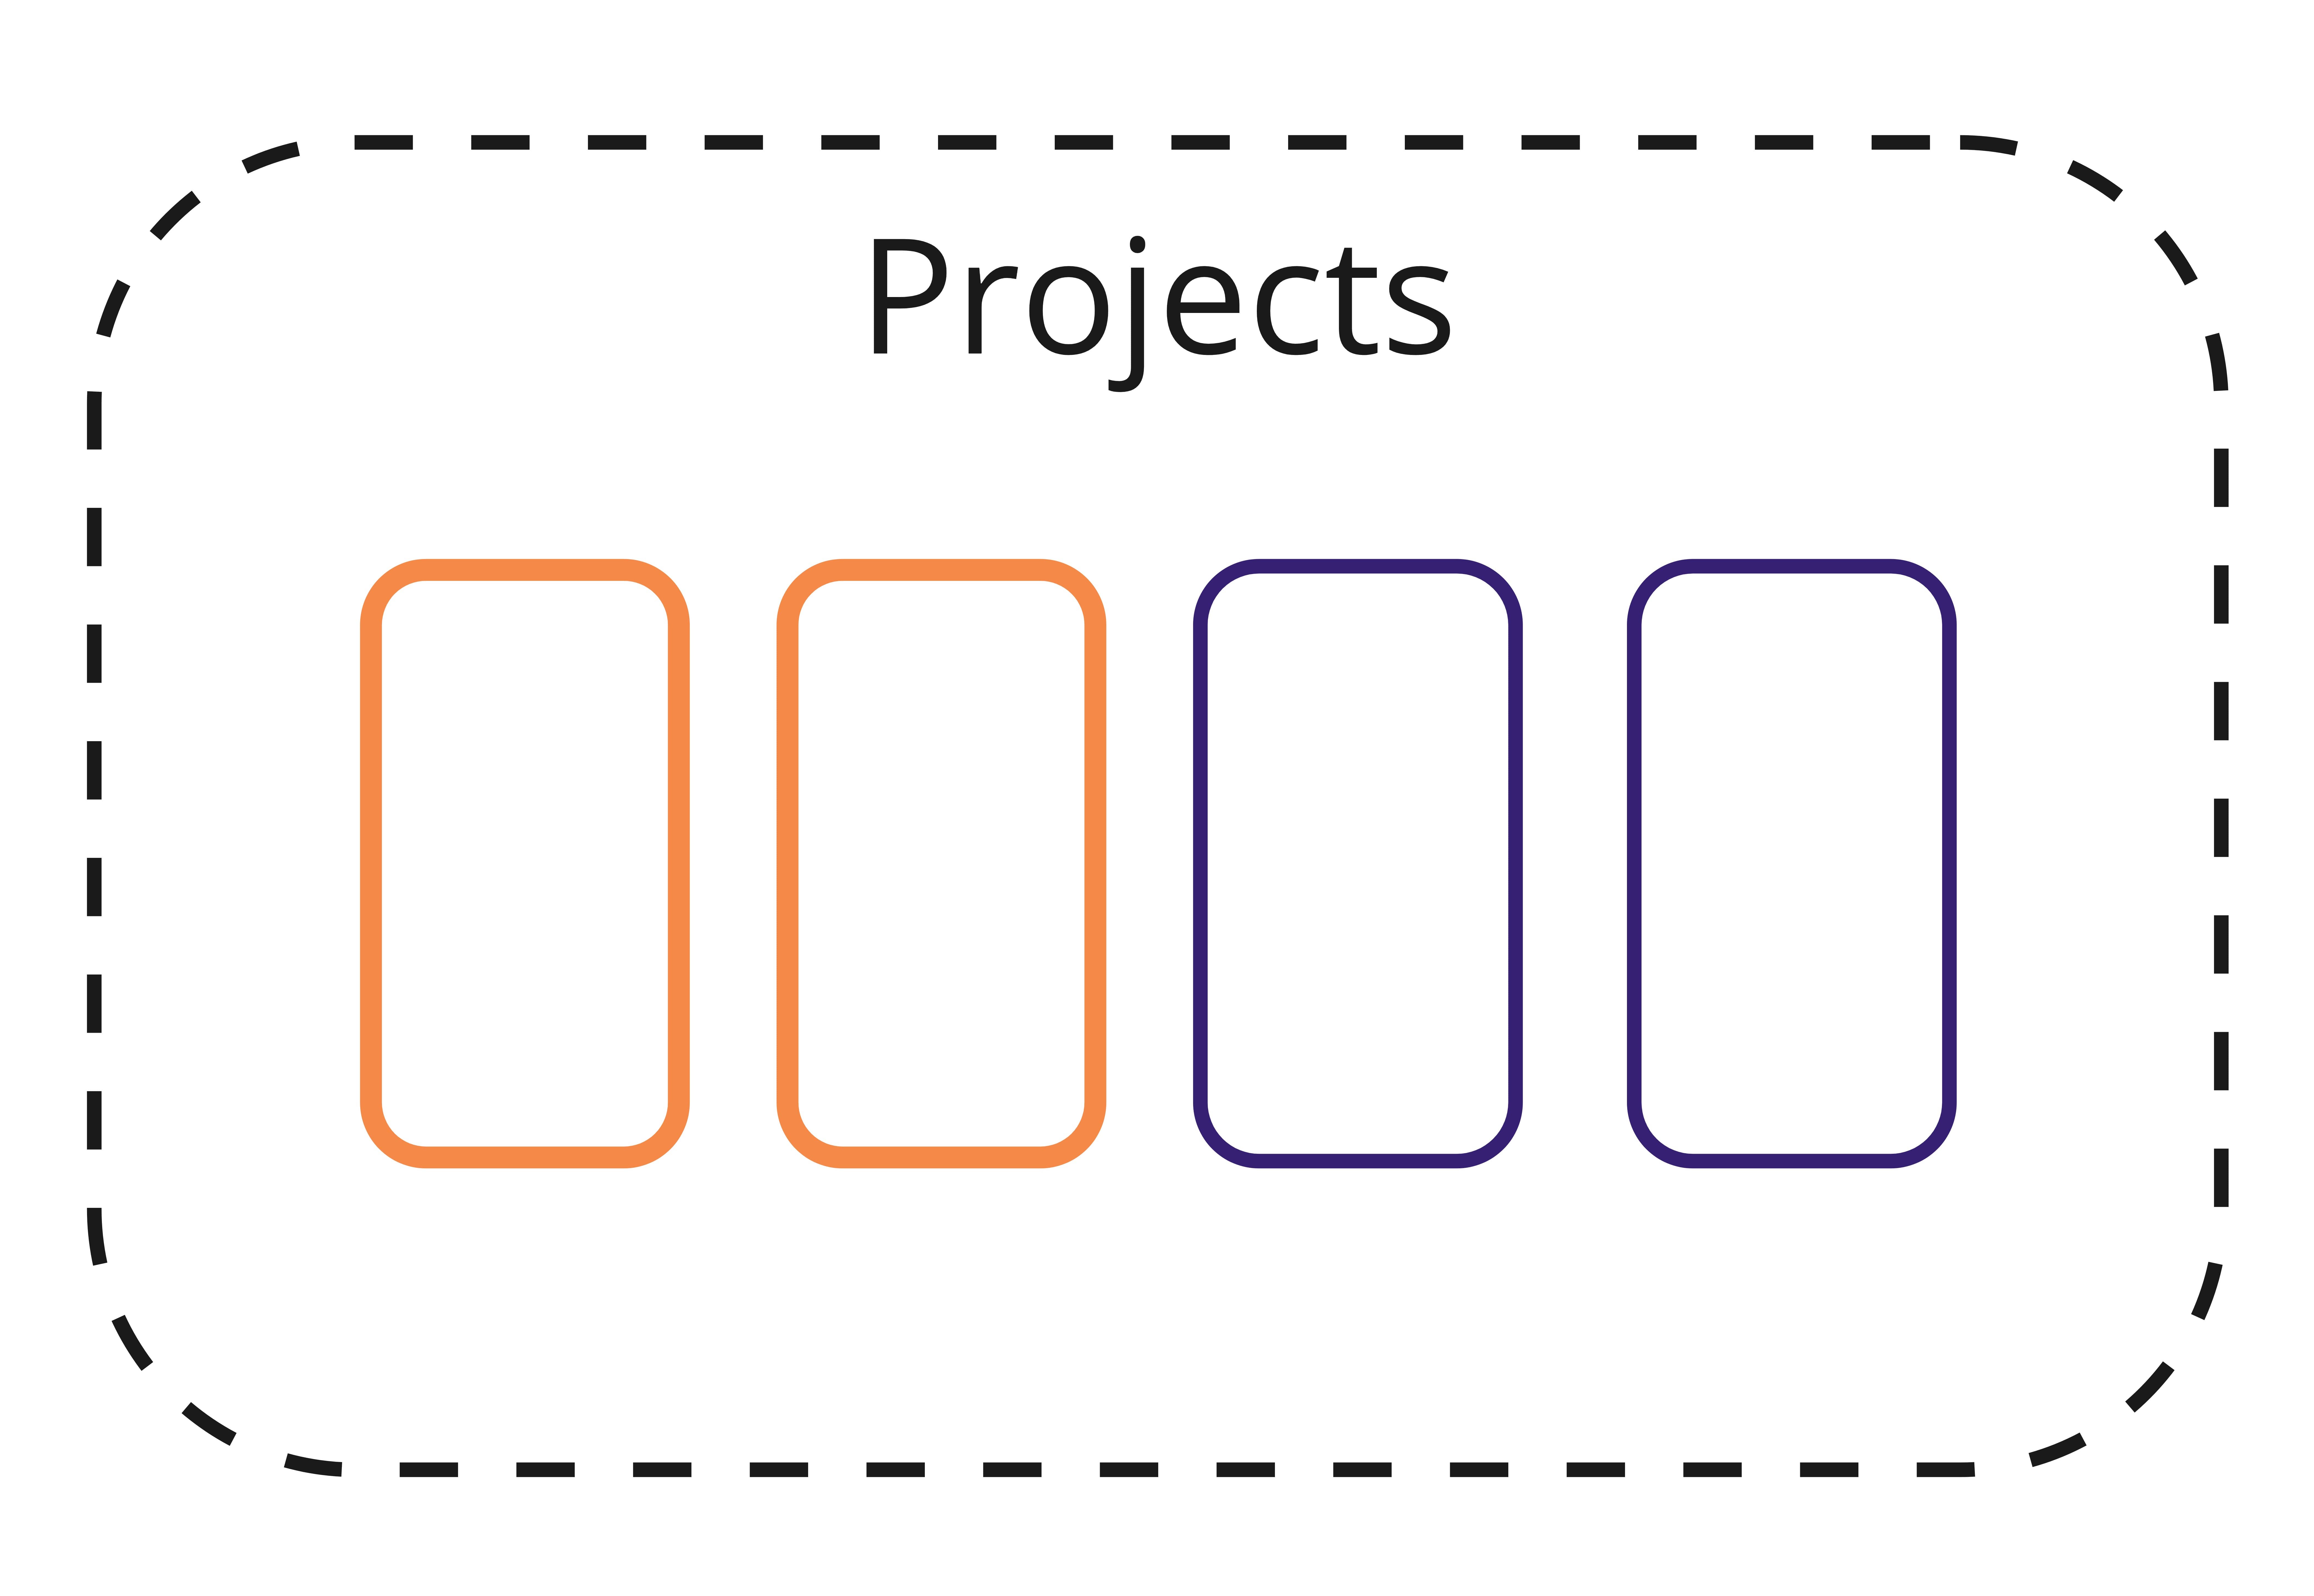
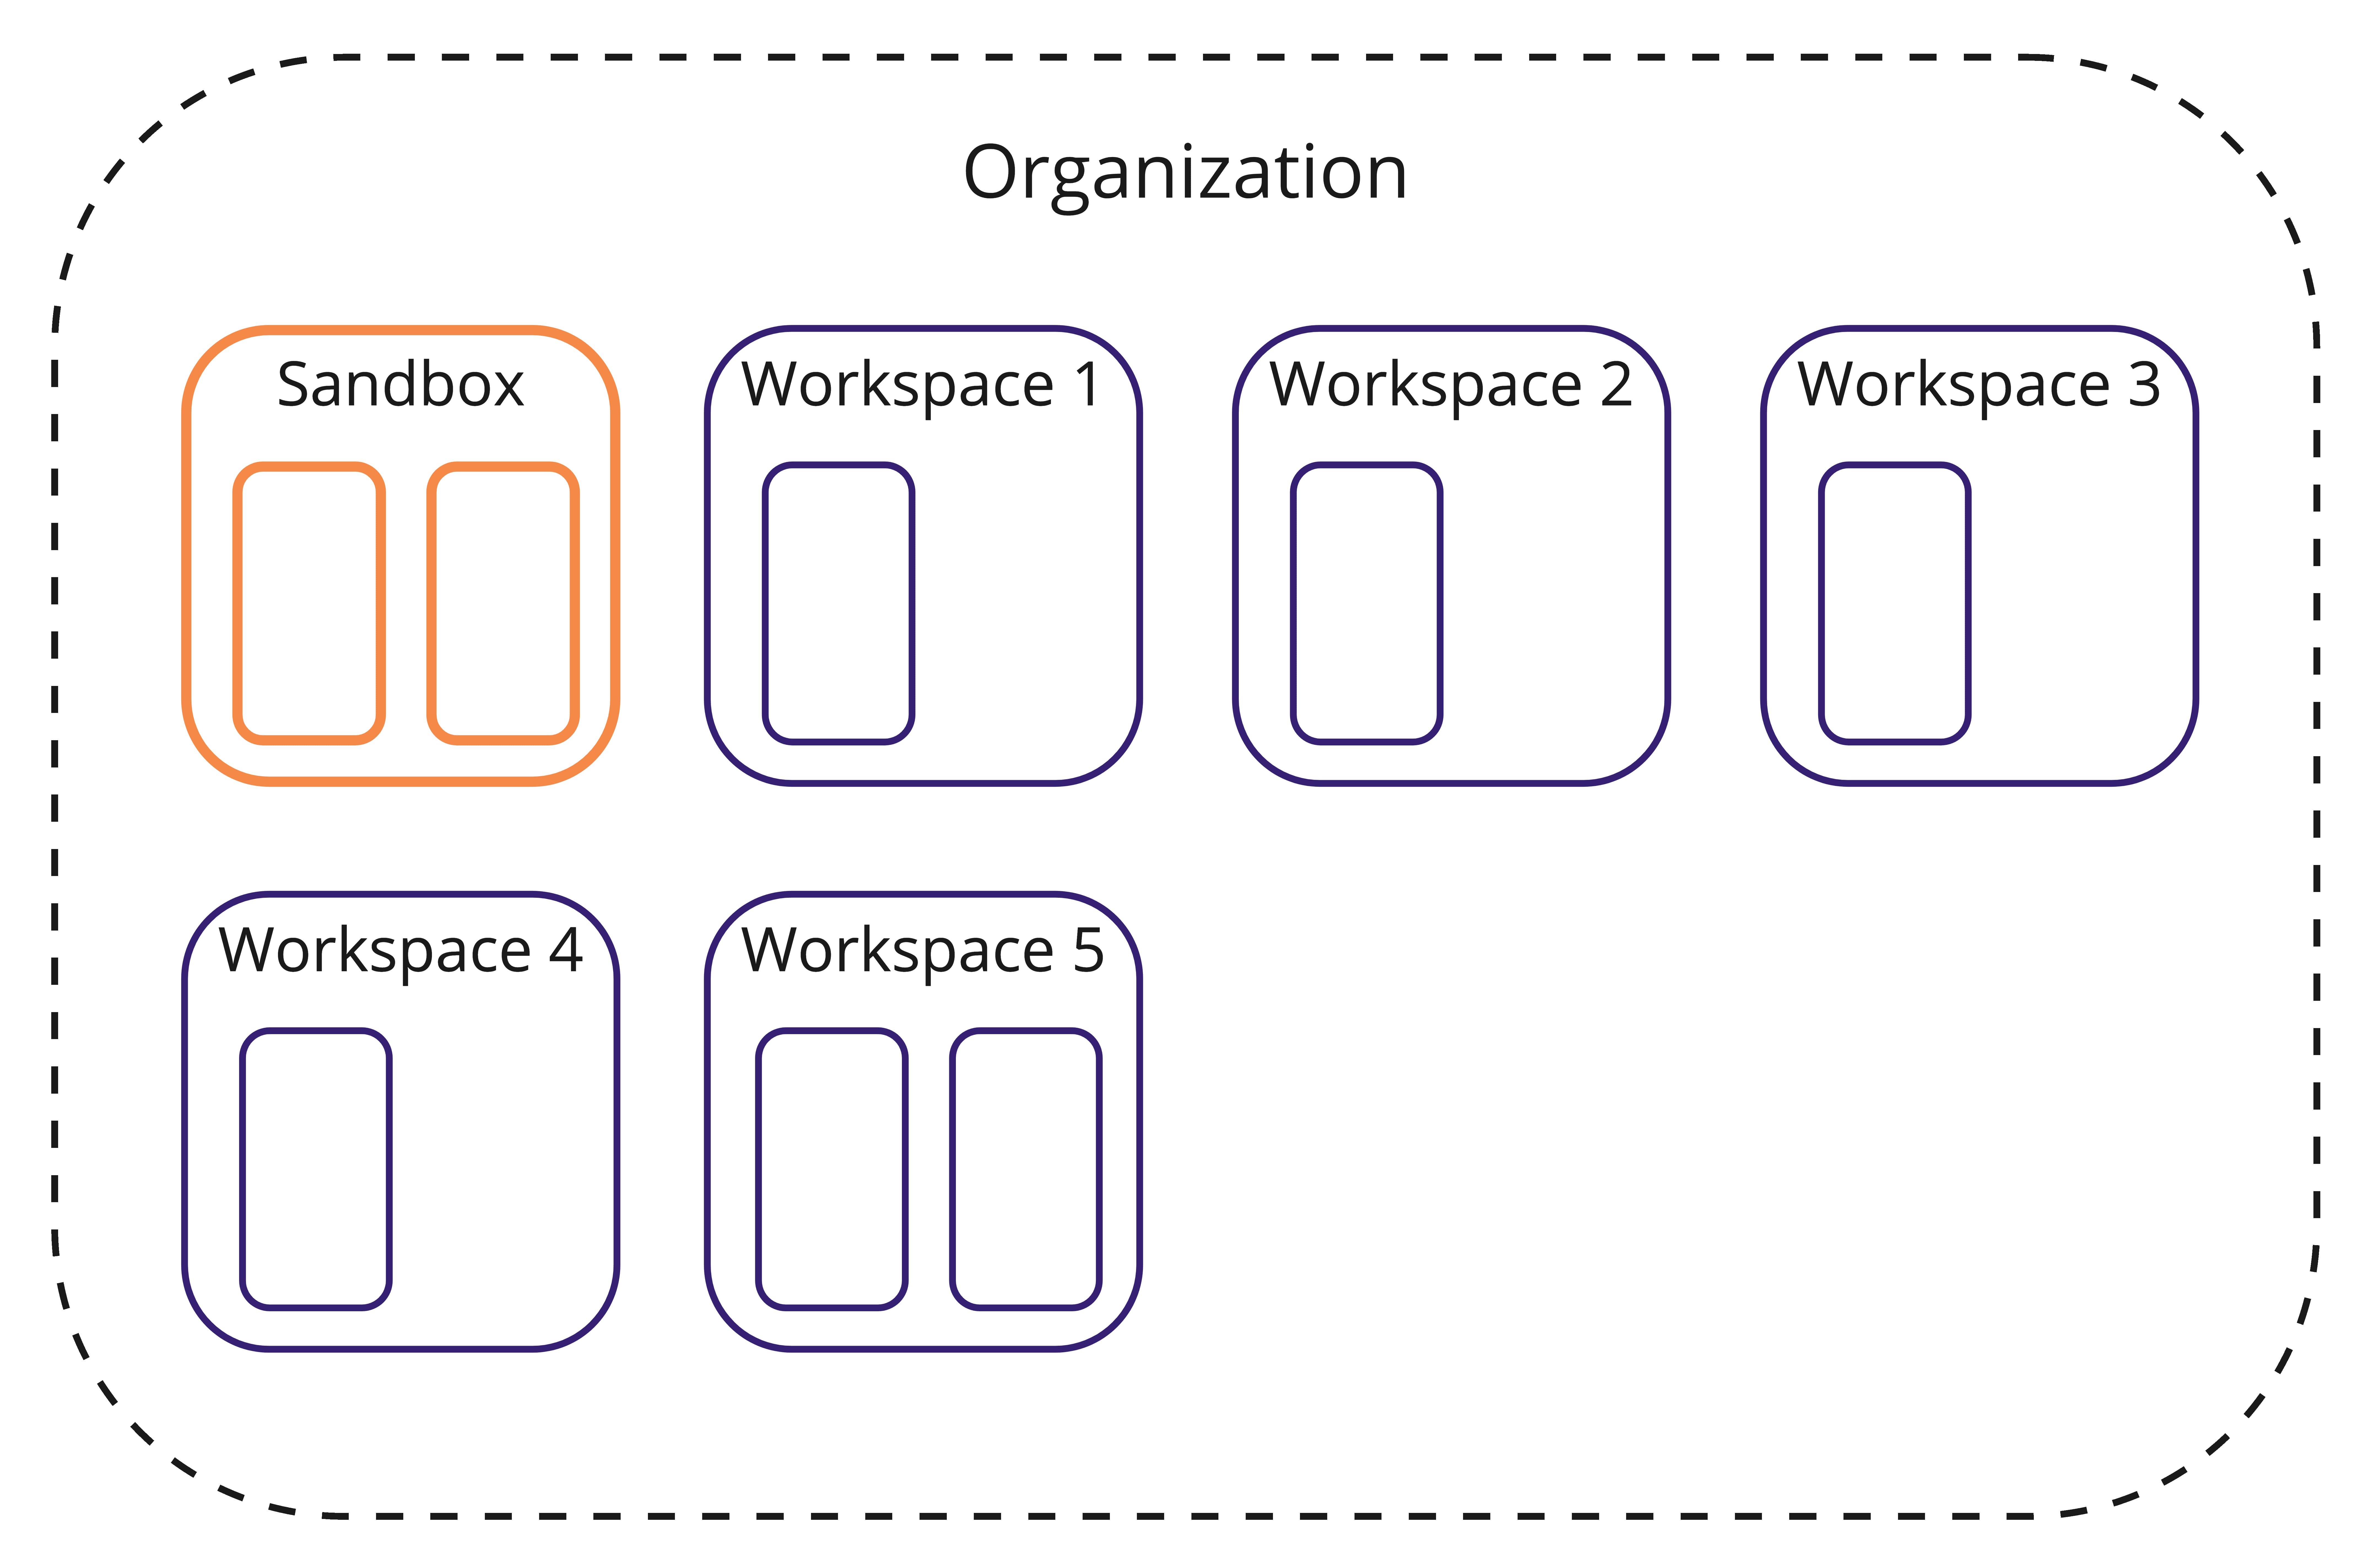
Use a combination of roles, to control what actions users can take, and project workspaces, to control what data and projects users have access to.
For example, a project annotator using Label Studio sees only the projects they have access to:
Figure 1: Only Label Studio projects are added and visible to an annotator.
A Label Studio administrator sees all projects and workspaces that exist in the Label Studio instance:
Figure 2: An administrator can view all projects and workspaces in a Label Studio instance.
Permissions in Label Studio Enterprise
Table 3: Permissions in Label Studio Enterprise
| Action | Annotator | Reviewer | Manager | Administrator | Owner |
|---|---|---|---|---|---|
| User Management | |||||
| Change user roles | ✔️ | ✔️ | |||
| View People page | ✔️ | ✔️ | ✔️ | ||
| Invite people to organization | ✔️ | ✔️ | |||
| Workspace access | R | R | CRUD | CRUD | CRUD |
| Project Management | |||||
| Project access | R | R | CRUD | CRUD | CRUD |
| Save custom project templates | ✔️ | ✔️ | ✔️ | ||
| Data Access | |||||
| View project data | If permitted in project settings, can view own. | ✔️ | ✔️ | ✔️ | ✔️ |
| Import data | ✔️ | ✔️ | ✔️ | ||
| Export data | ✔️ | ✔️ | ✔️ | ||
| Data Labeling Workflows | |||||
| Assign annotators to tasks | ✔️ | ✔️ | ✔️ | ✔️ | |
| Access labeling workflow | ✔️ | ✔️ | ✔️ | ✔️ | ✔️ |
| Access review workflow | ✔️ | ✔️ | ✔️ | ✔️ | |
| Monitor annotator agreement | ✔️ | ✔️ | ✔️ | ✔️ | |
| Review annotator performance | Own | ✔️ | ✔️ | ✔️ | ✔️ |
| Verify annotation results | ✔️ | ✔️ | ✔️ | ✔️ | |
| Assign reviewers to tasks | ✔️ | ✔️ | ✔️ | ||
| Advanced | |||||
| API access to equivalent Label Studio functionality | ✔️ | ✔️ | ✔️ for own or workspace projects | ✔️ | ✔️ |
| Analytics | |||||
| Track what happens and when on annotation dashboards | Own | Project | Workspace and invited projects | Organization️ | Organization️ |
| View annotator dashboard | ✔️ | ||||
| View system-wide activity log | ✔️ | ✔️ | |||
Set up role-based access control (RBAC) with Label Studio
Set up role-based access control in Label Studio by using organizations and workspaces to organize projects and assigning roles to organization members. Use roles to control what actions organization members can perform in Label Studio, and manage organization and workspace membership to manage what data and projects those people can access.
Only people with the Administrator and Owner roles can invite people to Label Studio and manage their role membership.
note
If you are using SSO/SAML or SCIM, you can map groups to roles on the organization level and the project level. For more information, see Set up authentication for Label Studio.
Invite users to Label Studio Enterprise
Invite users to your organization by doing the following:
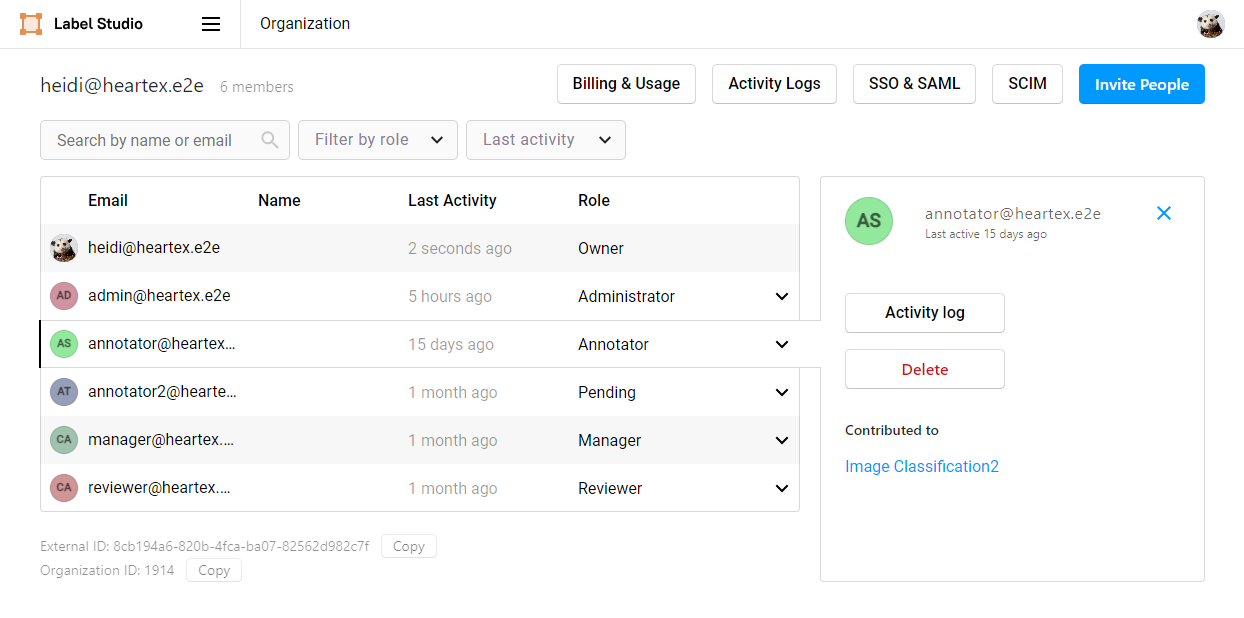
- In the Label Studio UI, click the hamburger icon to expand the left-hand menu and click Organization.
- On the Organization page, click + Add People.
- In the dialog box that appears, click Copy Link and share the invitation link to your Label Studio instance with the people that you want to join your organization.
Restrict signup without invite links
To restrict who has access to your Label Studio instance, invite collaborators directly using an invitation link. To disable the signup page unless someone uses the invitation link, you should add this environment variable to your setup:
LABEL_STUDIO_DISABLE_SIGNUP_WITHOUT_LINK=trueAssign roles to invited users
After a user that you invite clicks the link and signs up for an account, their account exists but must be activated by an organization owner or administrator. When you activate someone’s account, you also assign them a role in Label Studio.
To activate a user account and assign a role, do the following:
- In the Label Studio UI, click the hamburger icon to expand the left-hand menu and click Organization.
- Locate the user with a status of Not Activated.
- Select the drop-down under Role and select the relevant role for the user.
Your changes save automatically. Repeat these steps for any additional users.
Statuses of user accounts
note
NOT_ACTIVATED status is equal to Pending status.
If a user is in Pending status then it means he was invited and signed up for the account, but his role is not defined by administrator.
If you assign Deactivate to a role then it means you free one seat in license and a user with deactivated doesn’t have access to your organization.
Programmatically assign roles
To programmatically activate and assign roles to users, you can use the following API endpoints.
Assign a role to a user
For a given user ID and a given organization ID, you can programmatically assign a role to a user by sending a POST request to the /api/organizations/{id}/memberships endpoint. See the Organizations API documentation inside Label Studio Enterprise.
Determine the organization ID or user ID
If you’re not sure what the organization ID is, you can do the following:
- If you only have one organization in your Label Studio instance, use
0. - If you have multiple organizations, make a GET request to the
/api/organizations/endpoint.
To retrieve user IDs for the members of an organization, make a GET request to /api/organizations/{id}/memberships.
Delete users
From the Organization page, select the user you want to delete.
Click Delete.

A confirmation message appears. Click Delete Member.
Once deleted, any completed work or changes that the user made will appear as belonging to a “Deleted User.”
If you want to add the user again at a later date, you will need to re-invite them to the organization.